
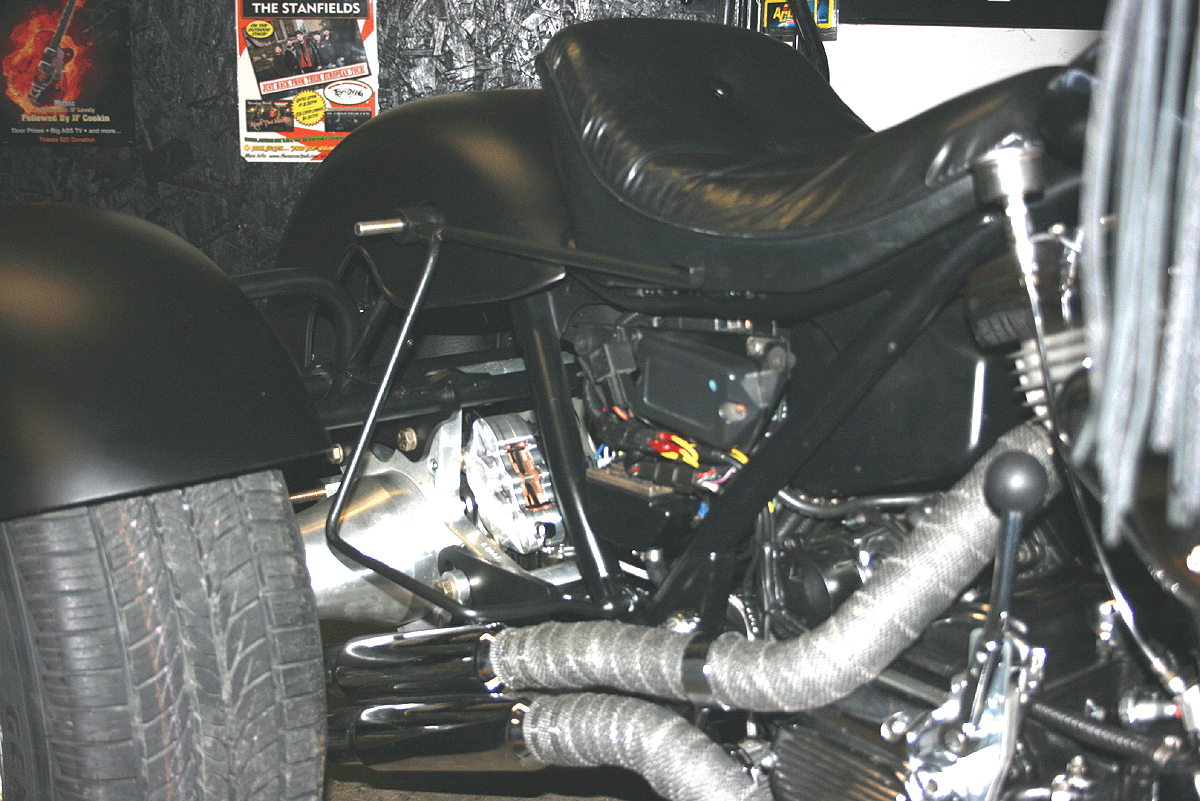
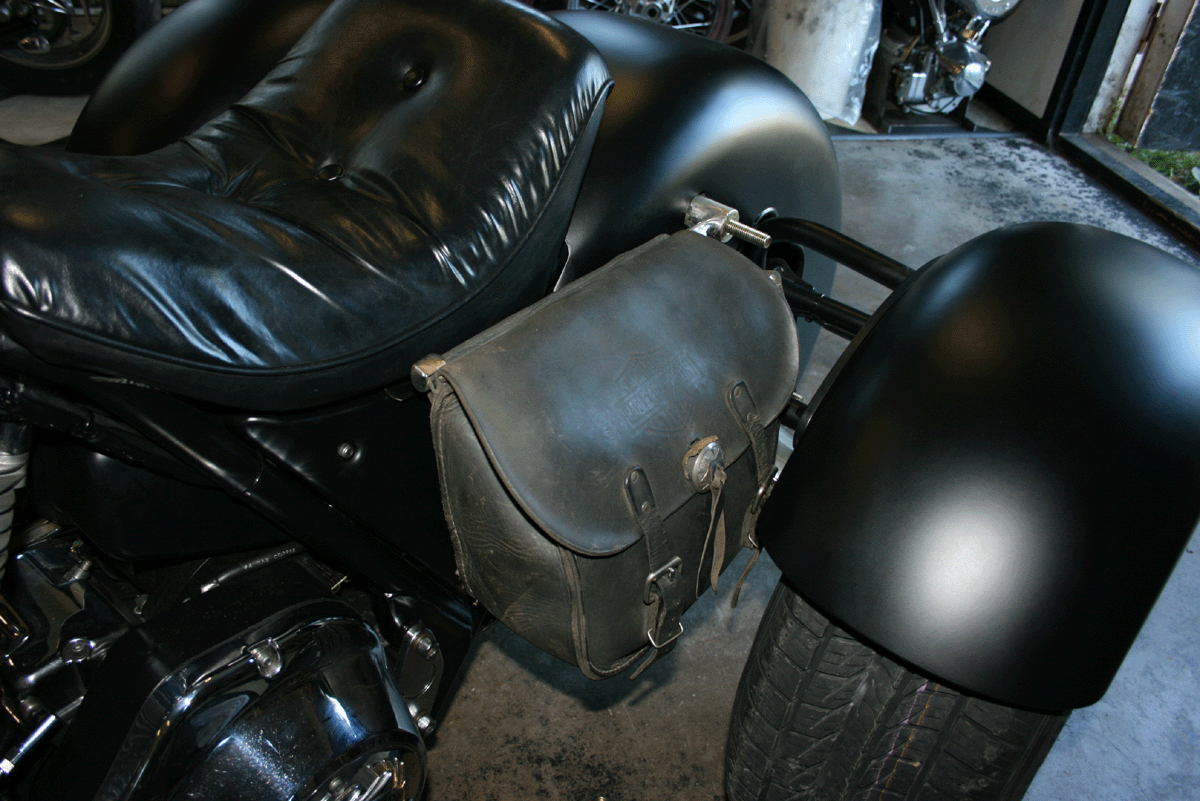
One of the hardest things to figure out was how and where to put saddlebags on the Trike. When I asked Nadine about it she said "well...I'm a girl don't you know...I got to carry stuff". So I knew I would have to figure it out. With this type of bike and the Frankenstein kit is that there is no place for bags. I had to get them in a place so as not to interfere with her seat and yet make them easily removable as well.
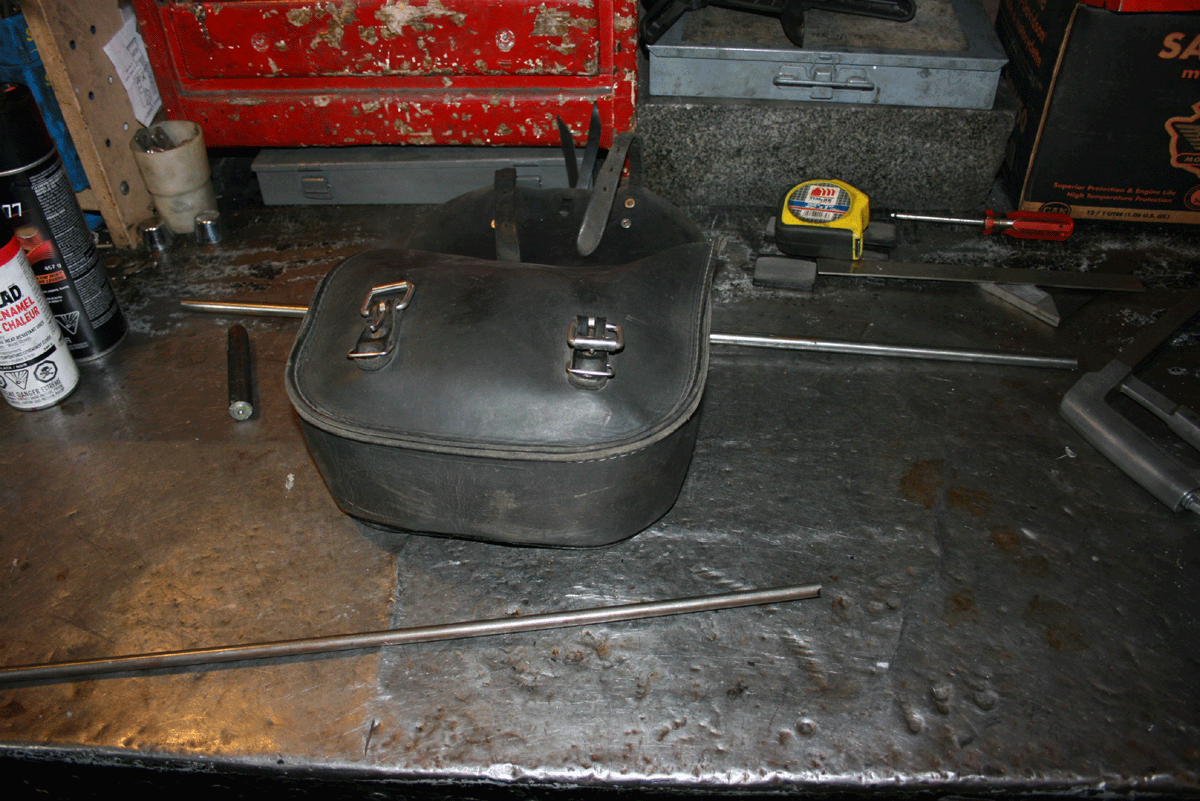

So I got some 1/2" and some 3/8ths" rod and started to formulate a plan. I would use the 1/2" for the top support, a hole drilled in the shock mount sleeve to slide the bar in for strength and welded in place, and the other to bend up for the bottom mount and support. I had the bags altered so they just had a long sleeve on the rear side to slide the rod through. This would enable her to just slide them on and off as needed without any hassle.
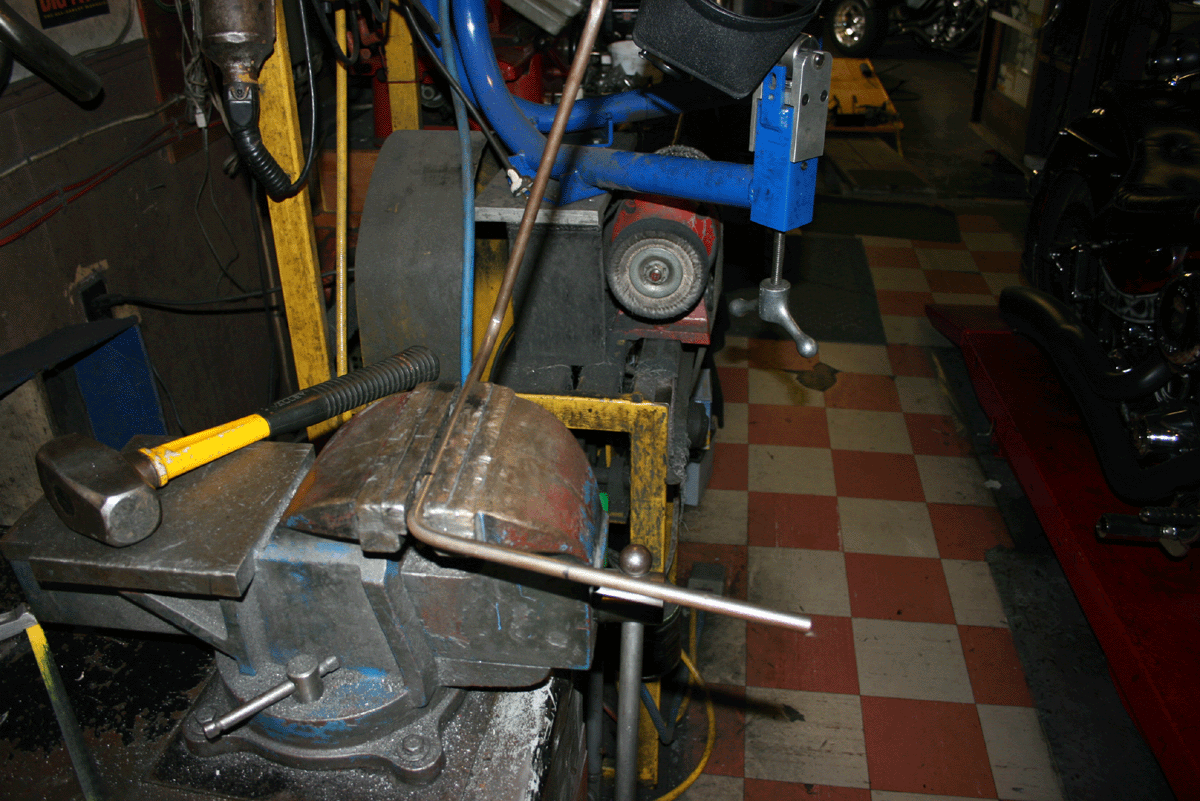
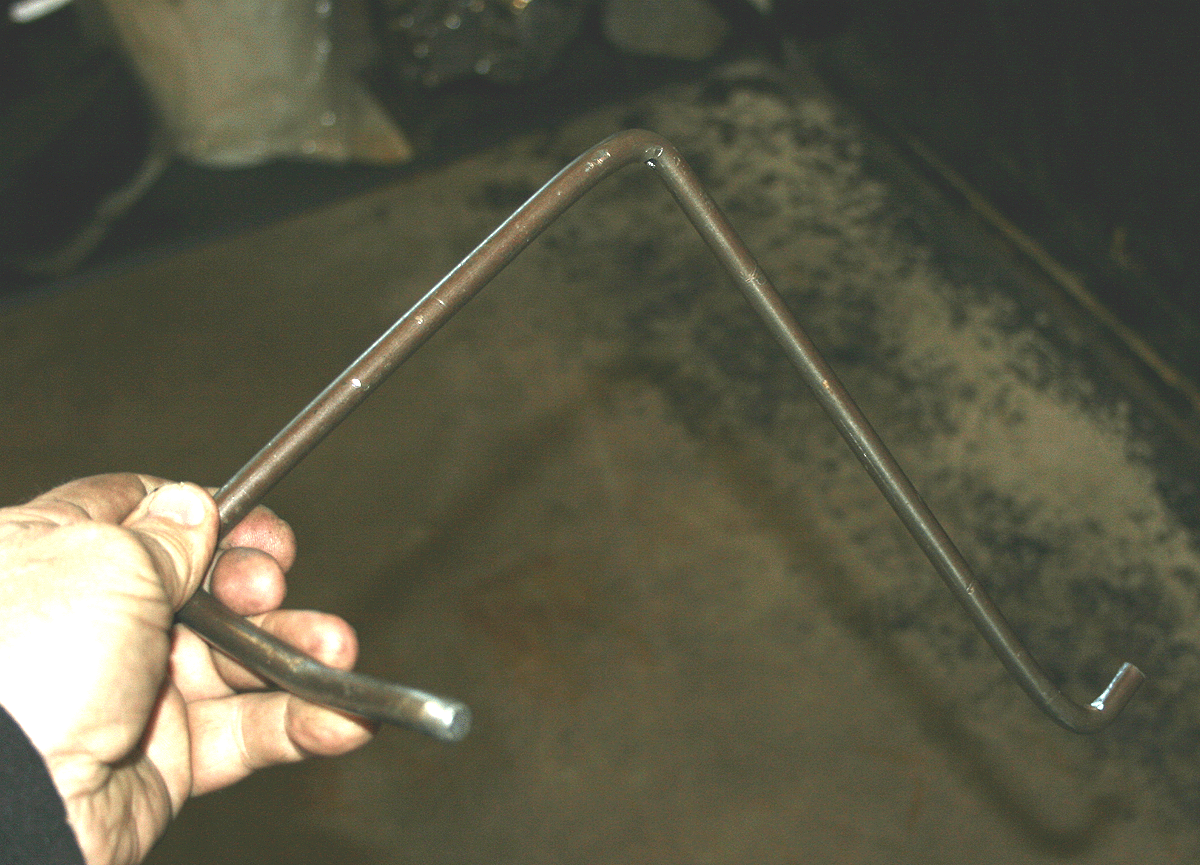
This the time consuming part. Bend and twist and try and bend and twist and try again but finally I had the pieces bent for both sides.


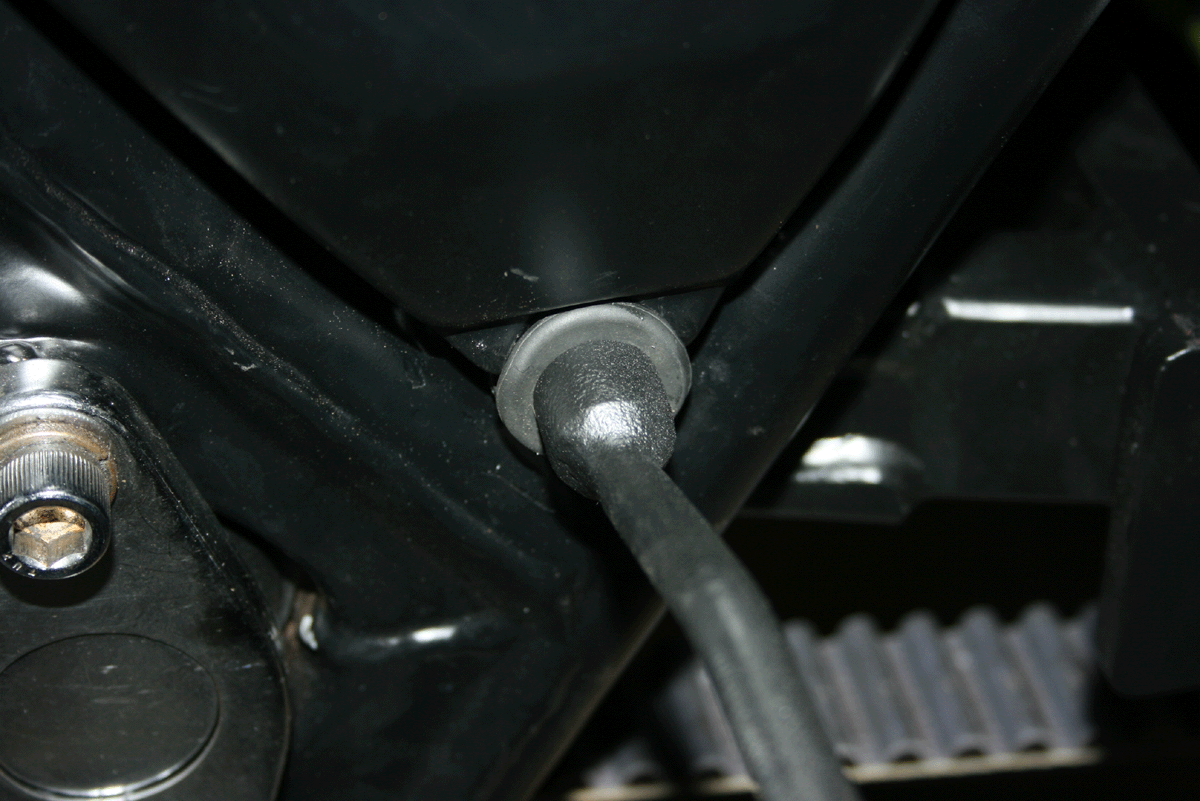
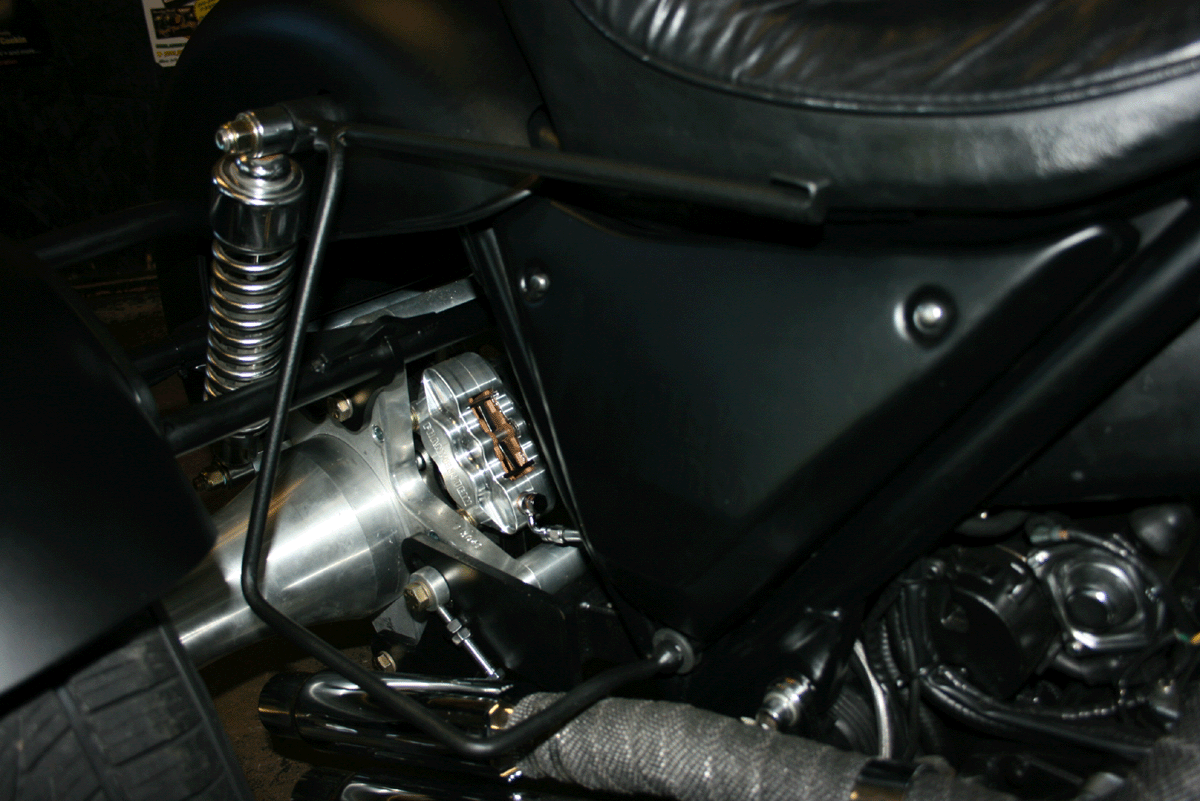
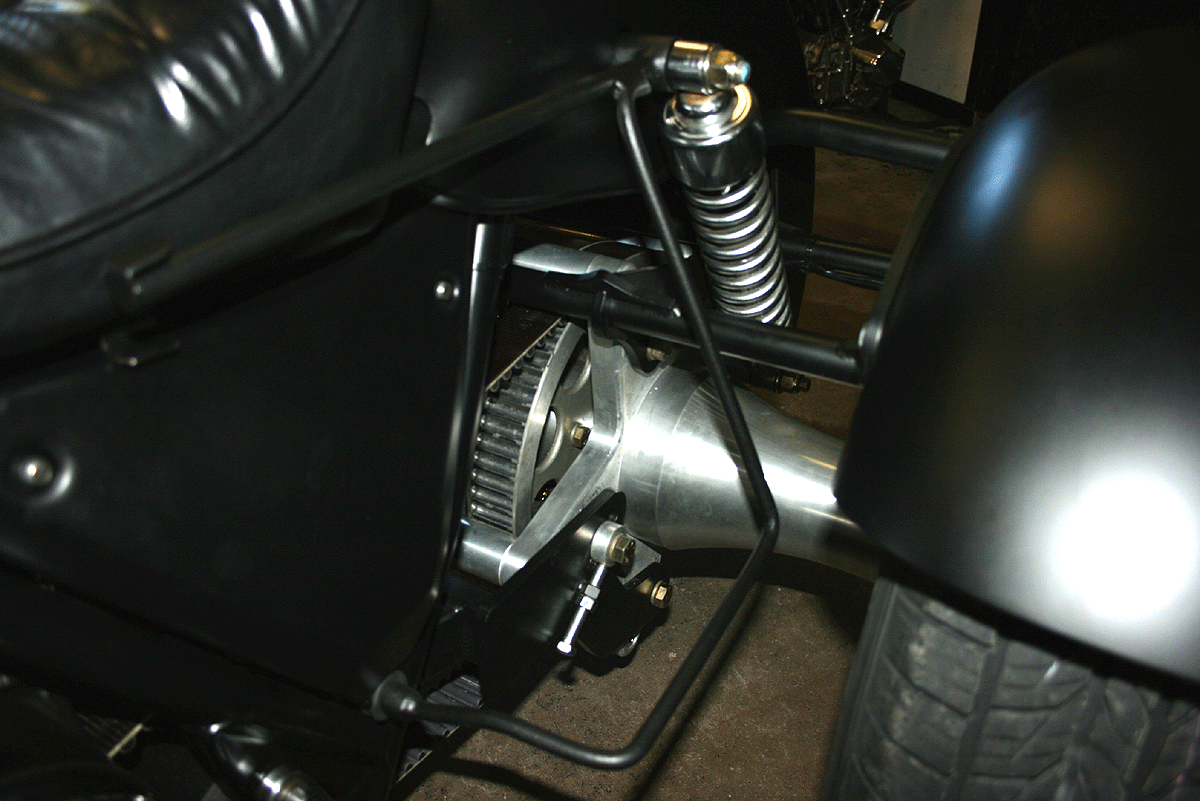
Now over to the lathe and turn some pieces for the bottom mount. It was going to go where the original rear foot peg mounted. This bike also had Ness Side covers which had to mounted a little different so I needed to allow for a large rubber grommet to hold the bottoms of them in place. I then threaded the inside for a 3/8ths bolt. The mount bolted in from the rear so you see no bolts.

Once they were welded on and cleaned up this is what they looked like installed. Notice the bends to make room for the movement of the motor on the lower mount.
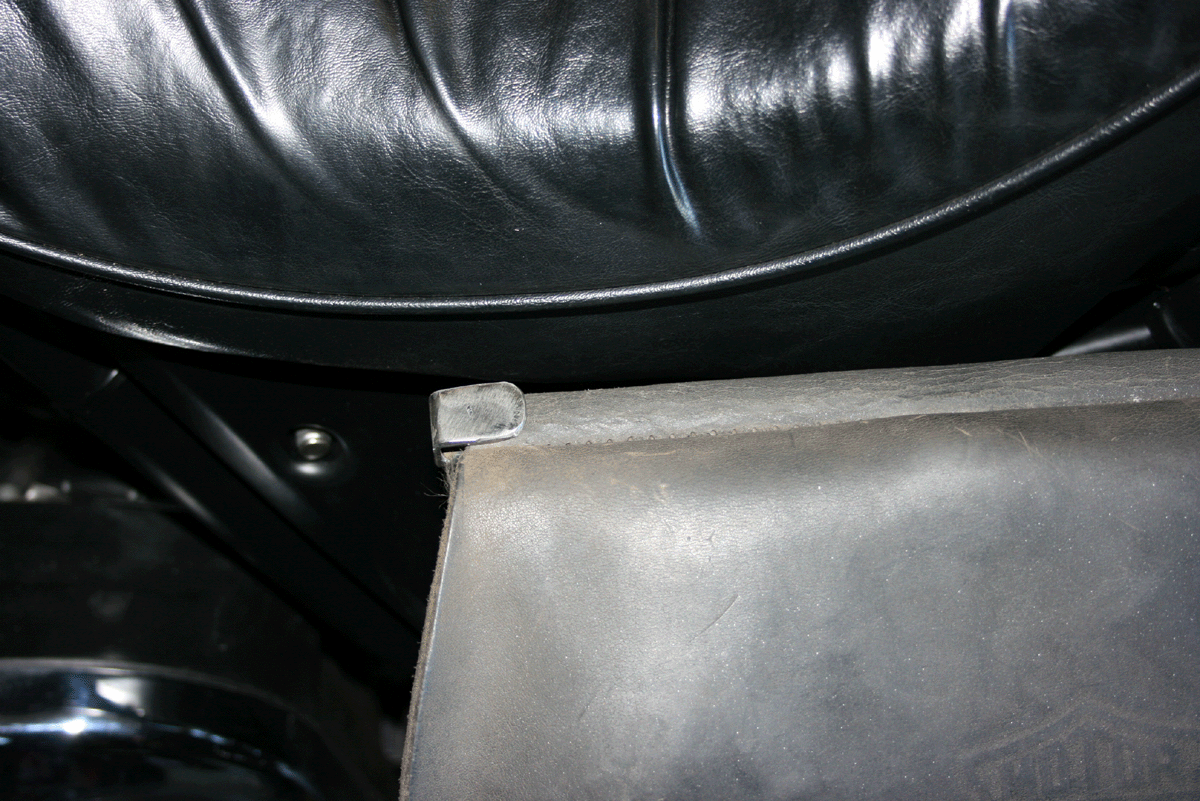
The last thing was to weld small tabs on the ends of the top rod so that once the bags were on they would just have to be slid forward to lock into these tabs. then they could not come off. To remove just slide them back...lift up so the edge goes over the tab and slide them off. works pretty slick!
Once they were fitted and all was good we painted them with Truck Bed Liner paint which is tough as nails so it will hold up for many years of use just with sadllebags on and off.
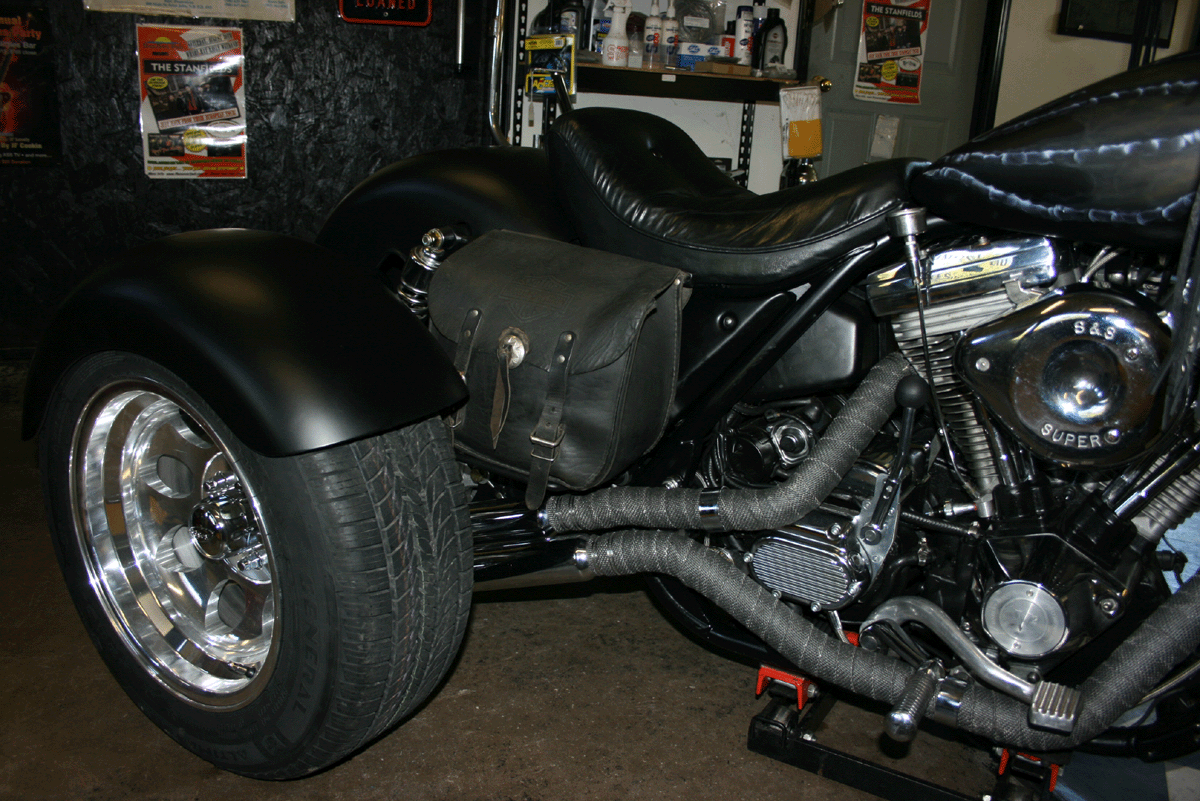
and there you have it....saddlebag mounts that are easy to use and look good to!

Page 1: The Begining..bits and pieces Click here
Page 2: Rolling Chassie and rear body piece Click Here
Page 3: Exhaust System Click Here
Page 4: Saddlebag Mounts Click Here
Page 5: Signal Lights click Here
Page 6: Paint Job Click Here
Page 7: Done assorted Pics Click Here